What types of recipes would you like to see in future issues? Is there a certain food that you’d like to incorporate more of into your diet? Let us know in the comments and Zoe will cook up some good recipes for you!
Due to COVID-19, we have all accepted our new reality in quarantine. While it has definitely taken some time getting used to, the best way to establish some normalcy is to maintain a daily routine. Although we might have to improvise and make slight adjustments, achieving a routine that best mimics our pre-quarantine one is important in continuing to lead a healthy lifestyle. For me, incorporating some form of movement each day and focusing on nourishing my body with whole foods has been key to maintaining my well-being. This may be easier said than done, however, focusing on how great your body will feel as a result of these things is super motivating.
Whether or not you have been spending more time in the kitchen during quarantine, I’d like to share some simple hacks and recipes with you all. My hope is that these ideas will ease any stress you have related to meal preparation or inspire you to get creative with the items you already have on hand!
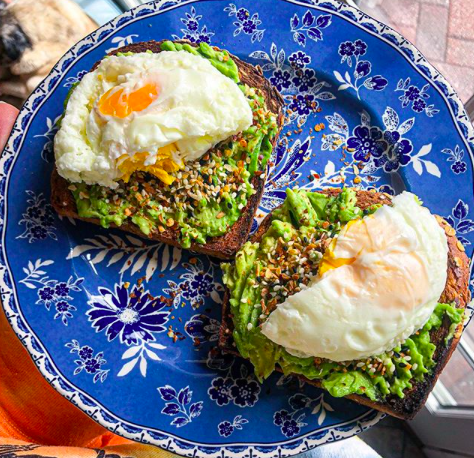
Eggs in a Mug
You will need….
- 1 mug
- Fork
- 1-2 eggs
- Microwave
Sounds strange, but this hack will save you time in preparation and clean up. Now that some of you are home in isolation with your family, the kitchen might seem a little more crowded than usual. Instead of fighting over stove space or trying to patiently wait around, you can compromise and just cook your eggs in the microwave! To start, choose a round mug, preferably one that is deep to ensure that the egg doesn’t explode inside your appliance. Crack either one or two eggs into your mug- this just depends on how many eggs you want to prepare. Microwave this for 1:00 and after, flip the semi-cooked egg over in the mug with your fork and microwave for another 40 -45 seconds. I’d recommend watching it cook both times because it may make a loud cracking sound and splatter as the yolk(s) cook through. Also, cooking time may slightly vary based on the type of microwave you are using. I find that these times work best for me but if you notice that the whites are still a little runny, I’d recommend cooking it a bit longer at 10 second intervals to avoid splattering.
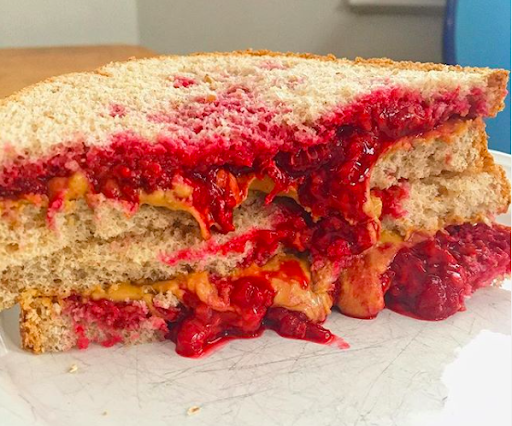
Jelly-less PBJ
You will need…
- 2 slices of whole grain bread
- 2 tbsp nut butter
- ½ cup frozen berries
- Microwave
- Fork
- Bowl
- 2 tsp chia seeds (optional)
Nothing is more comforting than a PBJ. In my house, I always have peanut butter on hand so a PBJ is a quick and easy lunch option. While jelly half the star of the show here, it does contribute quite a bit of sugar. I’m not going to name drop, but some of the most commonly used jelly brands that we all know and love contain between 10 and 12 grams of sugar per 1 tbsp serving. And to be frank, it’s possible that we are spreading more than that on our PBJs, racking up the sugar content of our sandwich. While I do not believe in completely avoiding sugar, I like to make small changes where I can to help lower the amount of added sugar I am consuming. As a solution, I propose using fresh or frozen berries and making a spread similar to jelly but without the sugar. To start, you will need a bowl, a fork and some fresh or frozen berries. I like using a mix of raspberries and strawberries, however, blueberries and blackberries are also amazing alternatives! Once you have the berries in a microwave- safe bowl, heat them up for about 30 seconds. If using frozen, you might want to microwave them for up to 1:00. If the berries require more time to thaw, continue to microwave for 20 second intervals until soft and some juice appears. Remove the bowl and mash the warm berries with your fork. I like to just press down on the individual berries to preserve some chunks. As an optional step, you can add in 2 tsp of chia seeds, as these will help create a more gelatinous consistency. After mashing, place the mixture in the fridge for up to 10 minutes until the berries cool. Now you can assemble your PBJ as you normally would and enjoy!
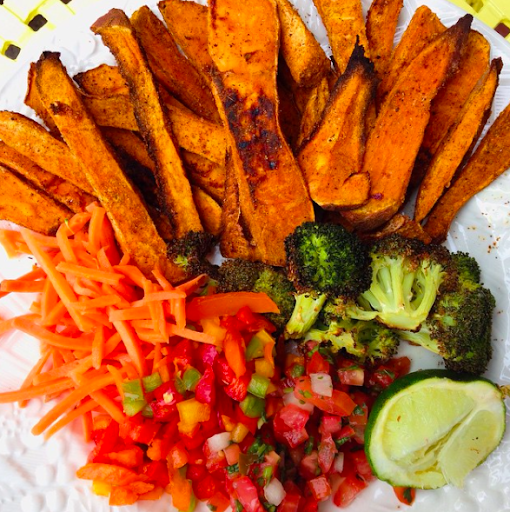
Homemade Sweet Potato Fries
You will need…
- 1 Large sweet potato
- Spices
- Parchment paper or aluminum foil
- Peeler
- Chef’s Knife
- Conventional or Toaster Oven
Who doesn’t love fries? Let’s be real- you can never go wrong with potatoes in any form! That being said, homemade fries are such a game changer. Not only are they easy to make, but they are oil-free and much healthier for you than fast food fries. To start, preheat your conventional or toaster oven to 450F. This depends on your access to either appliance however, toaster ovens may be the more convenient option since they generally preheat more quickly and require a shorter cooking time. Before cutting the potato, I recommend peeling off the skin. Next, you will want to slice the potato lengthwise into ~¼ inch slices. Then, you will cut those slices into ~¼ inch strips, resembling the shape of steak fries. Spread out your strips onto parchment paper or aluminum foil sprayed with cooking spray. Now, season the strips with any spices you have on hand. You can get creative with this step! Some of my favorite combinations include the following: sea salt, lime juice and smoked paprika; sea salt, dill weed and garlic powder or sea salt and cinnamon for sweet dessert fries! If using a conventional oven, you will want to bake the fries for about 40-60 minutes. For a toaster oven, expect to bake for about 25-30 minutes. The goal here is for the sweet potato fries to be soft and almost caramelized, since baked sweet potatoes typically become a little gooey.
Check out my page for more meal hacks and recipe inspiration and be sure to share your quarantine creations with me @whatzoeeeats.
About Zoe Gregorace
 Zoe Gregorace is currently studying Nutrition Policy at the Tufts Friedman School of Nutrition Science and recently graduated from Tufts University, where she earned a Bachelor of Arts degree in Sociology and was a proud member of the Tufts Swimming and Diving team (Go Jumbos!). During her 16 year career as a competitive swimmer, she developed a passion for sports nutrition. She enjoys writing on the topic of nutrition, health and wellness and posts her meal creations on her Instagram page @whatzoeeeats. As a former college swimmer, she strives to share recipes and nutrition tips to promote balanced eating and optimize sports performance.